*this blog contains affiliated links and discount codes*
*this blog contains affiliated links and discount codes*
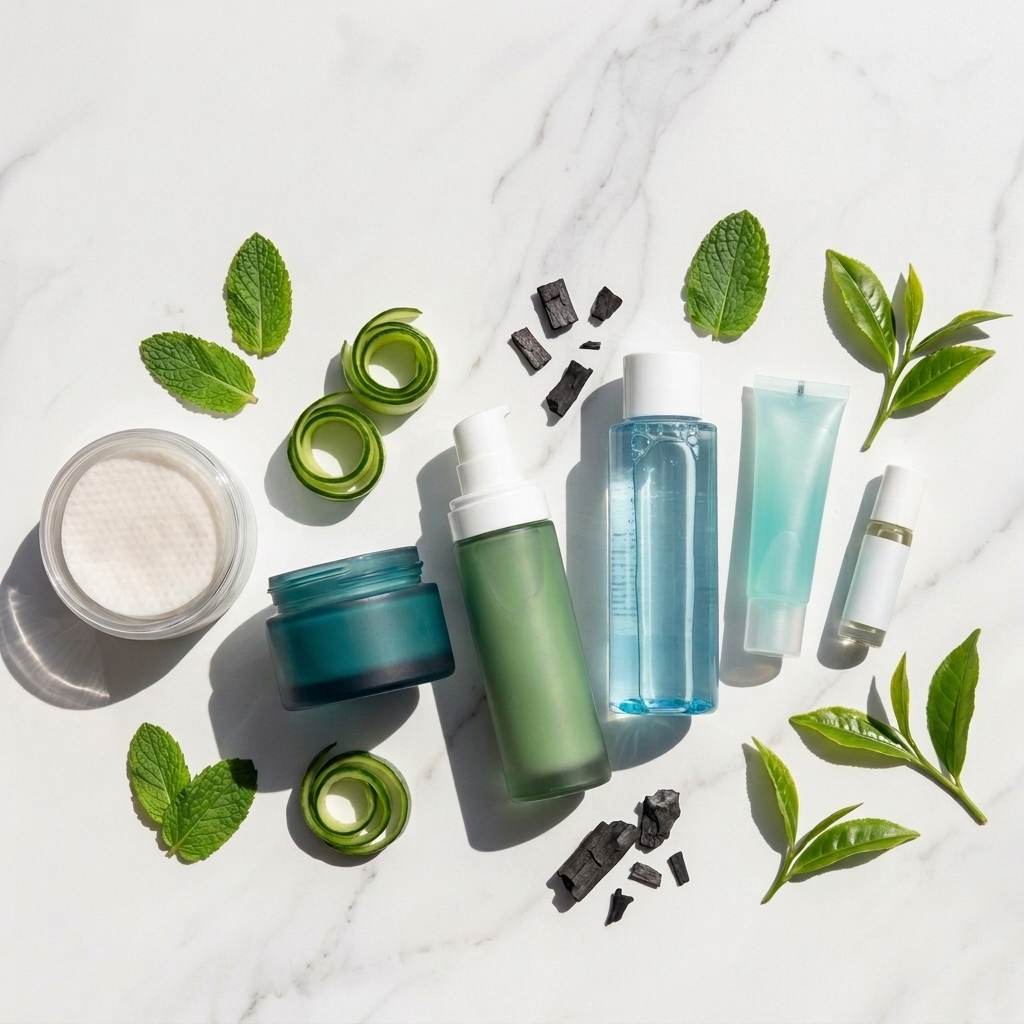
The Morning Routine That Transformed My Skin (In 7 Simple Steps)
For years, my morning routine was a mess. I splashed water on my face, slapped on some moisturiser, and called it done. My skin was dull, uneven, and constantly breaking out.
Then I built a proper morning routine—seven steps that take less than five minutes. Within six weeks, my skin was clearer, brighter, and more hydrated. People started asking if I had changed my makeup.
Here is exactly what I do every morning, and why it works.
Why Morning Routines Matter
Your morning routine protects your skin from daily damage—UV rays, pollution, blue light from screens. It also preps your skin for makeup and keeps it hydrated throughout the day.
The goal is not complexity. It is consistency. These seven steps are simple, effective, and backed by what actually works. For a full guide to building routines, see my complete skincare routine guide.
Step 1: Gentle Cleanser
I use CeraVe Hydrating Cleanser every morning. It removes overnight oil and product buildup without stripping my skin. I used to skip morning cleansing—big mistake. My serums absorb so much better on clean skin.
Why it matters: Cleansing removes sebum, dead skin cells, and any residue from nighttime products. This allows your morning actives to penetrate properly.
Product rec: CeraVe Hydrating Cleanser (£11). Gentle, non-foaming, perfect for all skin types. grab 20% off skincare essentials at Lookfantastic.
For more cleansing options, check my guide to the best face cleansers.
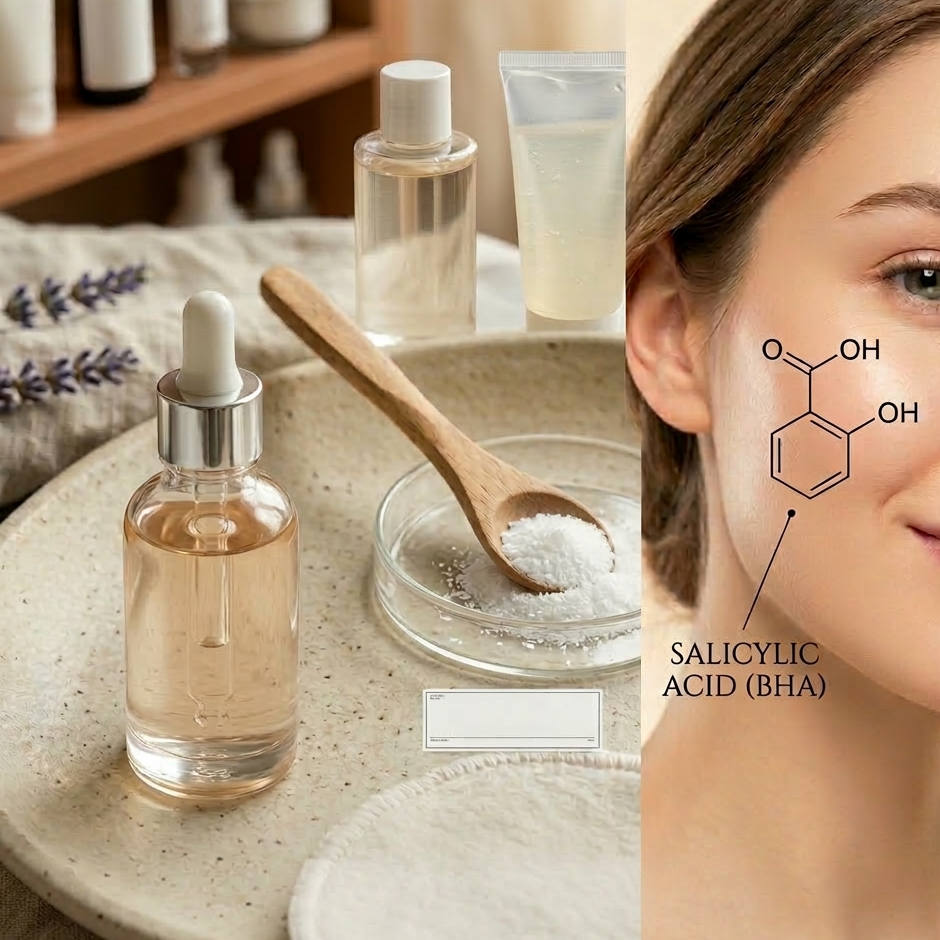
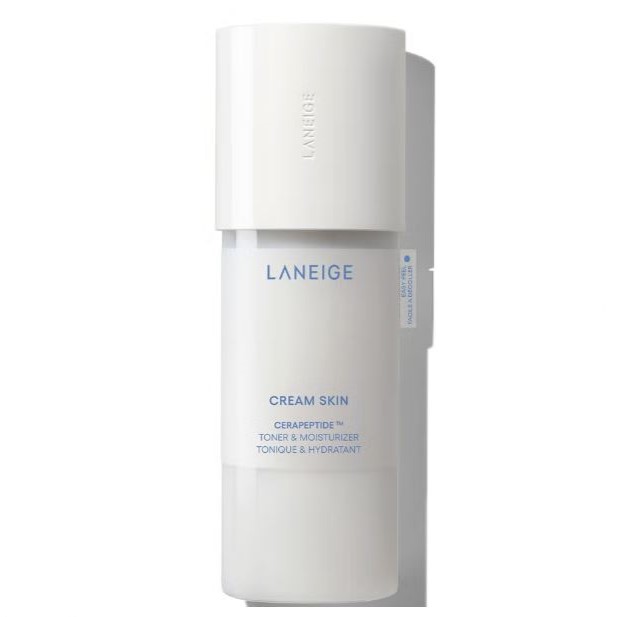
Step 2: Toner (Optional)
I use Paula's Choice Pore-Reducing Toner a few times a week. It preps my skin and balances pH. If you have dry skin, skip this step—it is not essential.
Why it matters: Toners can hydrate, exfoliate gently, or prep skin for better serum absorption. But they are optional.
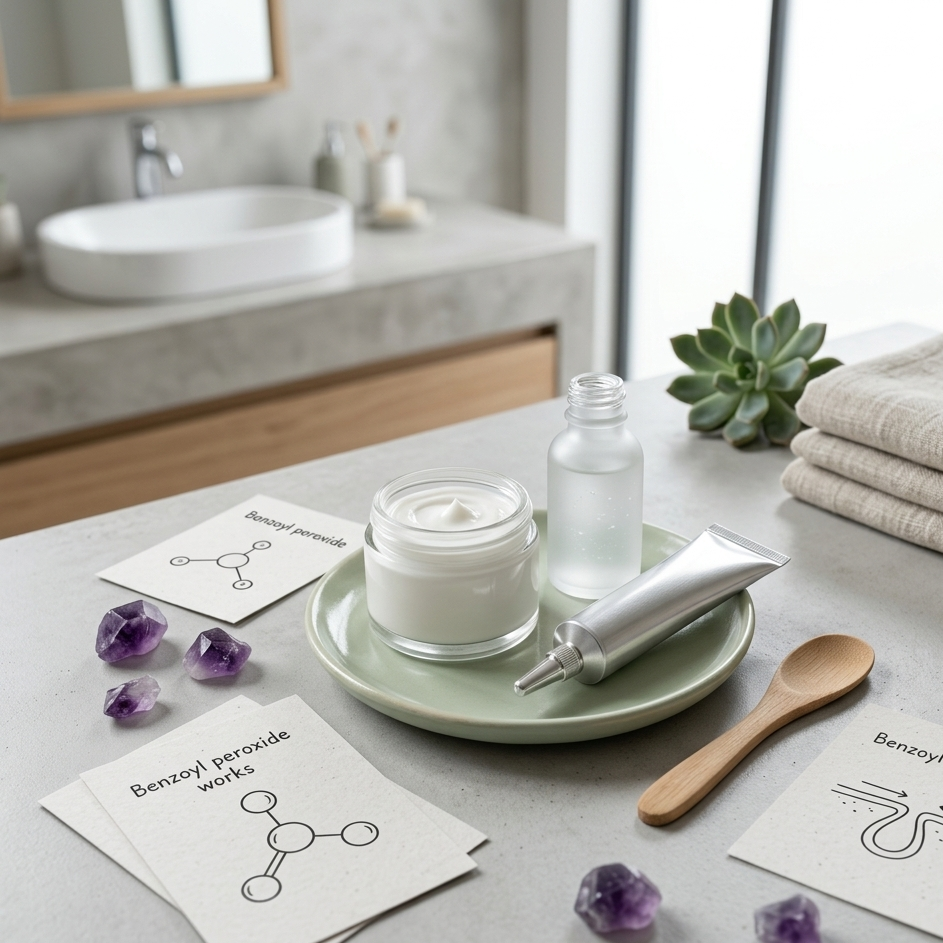
Step 3: Vitamin C Serum
This is my non-negotiable. I apply The Ordinary Vitamin C Suspension 23% every single morning. It brightens my skin, fades dark spots, and protects against environmental damage.
I have used it for two years and my skin tone is noticeably more even. Dark spots from old breakouts are almost gone.
Why it matters: Vitamin C is an antioxidant that neutralises free radicals from UV exposure and pollution. It also boosts collagen production and brightens skin.
Product rec: The Ordinary Vitamin C Suspension 23% (£6) or Geek & Gorgeous C-Glow (£14). Sephora UK has excellent vitamin C options with 15% off.
For a deeper dive, see my roundup of the best vitamin C serums under £30.
Step 4: Niacinamide Serum (Optional)
If my skin feels oily or I have a breakout brewing, I add niacinamide. It controls oil, shrinks pores, and calms redness. I use The Ordinary Niacinamide 10% + Zinc 1%.
Why it matters: Niacinamide regulates sebum production and strengthens your skin barrier. It pairs beautifully with vitamin C.
Product rec: The Ordinary Niacinamide 10% (£5). Affordable, effective, non-irritating.
Step 5: Eye Cream
I dab CeraVe Eye Repair Cream around my eyes. It hydrates and reduces the appearance of fine lines. I started using eye cream at 30—I wish I had started sooner.
Why it matters: The skin around your eyes is thinner and more prone to dryness and wrinkles. Eye cream keeps it hydrated and plump.
Product rec: CeraVe Eye Repair Cream (£12). Contains ceramides and hyaluronic acid.
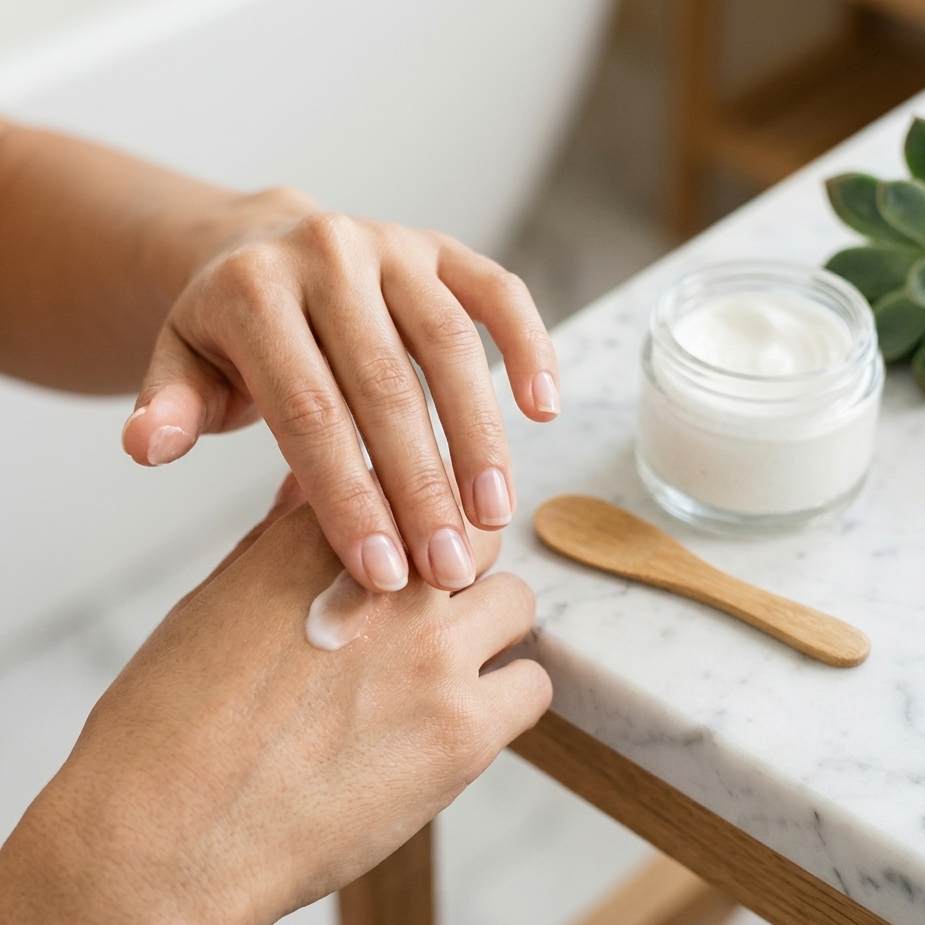
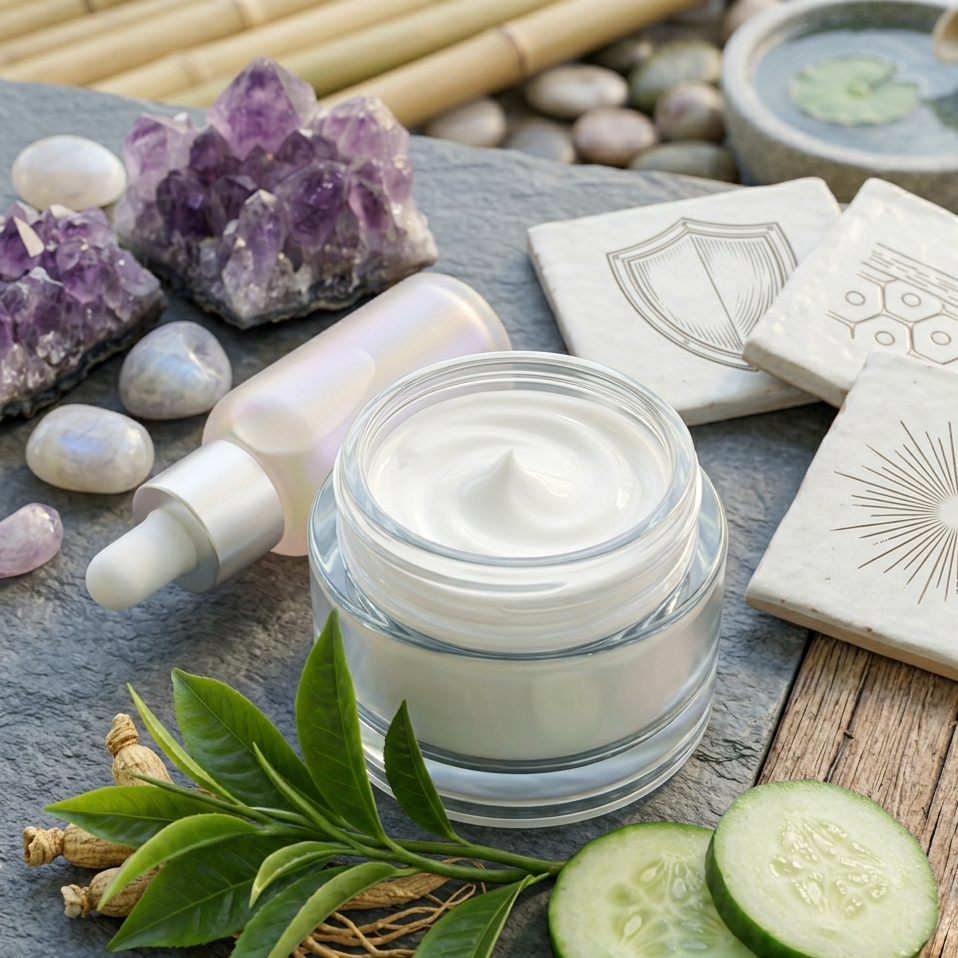
Step 6: Moisturiser
I use CeraVe PM Facial Moisturiser even in the morning. It is lightweight, non-greasy, and contains niacinamide and ceramides. My skin stays hydrated all day.
Why it matters: Moisturiser locks in all your serums and keeps your skin barrier healthy. Even oily skin needs moisturiser.
Product rec: CeraVe PM Facial Moisturiser (£13) or La Roche-Posay Toleriane Ultra (£18). For more options, see my moisturiser guide.
Explore luxury moisturisers with exclusive Elemis discounts.
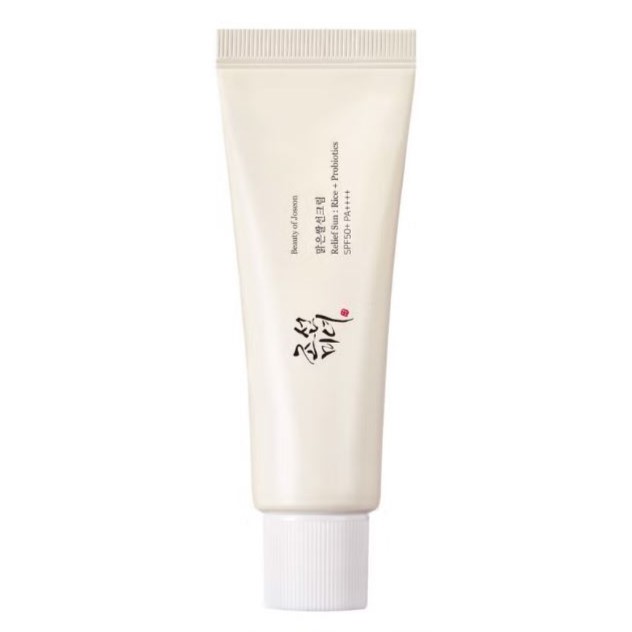
Step 7: SPF (Non-Negotiable)
This is the most important step. I use La Roche-Posay Anthelios Ultra-Light SPF50+ every single morning, even when it is cloudy. UV damage is the number one cause of premature aging.
I did not wear SPF consistently until I turned 30. I regret it. The sun damage from my twenties is visible now—dark spots, fine lines, uneven texture.
Why it matters: UV rays cause 80% of visible aging. SPF prevents wrinkles, dark spots, and skin cancer.
Product rec: La Roche-Posay Anthelios SPF50+ (£17) or Garnier Ambre Solaire SPF50 (£7). For more options, see my sunscreen guide.
Discover premium SPF options at Charlotte Tilbury.
My Full Morning Routine (In Order)
Total cost: Around £70 (lasts 4-6 months)
Total time: 4 minutes
Common Mistakes To Avoid
1. Skipping SPF
I know, I know. But seriously—SPF is the most important anti-aging step. Every dermatologist agrees.
2. Using Too Many Products
More is not better. I used to layer six serums every morning. My skin was irritated and congested. Stick to 1-2 serums max.
3. Not Waiting Between Steps
I wait 60 seconds after vitamin C before applying niacinamide. This gives each product time to absorb properly.
4. Using Actives Every Day
If you use retinol at night, skip strong actives in the morning. Your skin needs time to recover.
Tips For Success
For more on layering products correctly, see my guide to layering skincare.
Step 8: Two-Minute Facial Massage (My Favourite Step)
I've added this in as a non-negotiable after my serum every morning. Takes two minutes, de puffs my face properly, and genuinely makes my skin look more awake before I get to my moisturiser. I started doing it about a year ago and I've never gone back to skipping it.
Facial massage stimulates blood flow, relaxes tension in the muscles, and helps your products absorb better. It reduces puffiness and fine lines, and I find it genuinely relaxing as a little morning ritual before the rest of my routine.
5 Easy Steps for a Quick Facial Massage at Home
This routine is beginner friendly, tool free, and perfect for a 5 minute session.
Step 1: Prep Your Face (Start Smooth in 30 Seconds)
A clean base ensures the massage is effective.
Step 2: Drain Lymph from Jawline (De Puff in 1 Minute)
Lymph drainage reduces swelling around the jaw and neck.
Step 3: Lift Cheeks and Nose (Brighten in 1 Minute)
This boosts circulation for a lifted look.
Step 4: Smooth Forehead and Eyes (Relax in 1 Minute)
Target tension areas to ease lines.
Step 5: Finish with Neck (Ground It in 1 Minute)
Extend the massage downwar
The Facial Drainage Direction Map
The effectiveness of a facial massage depends entirely on following the body's natural drainage pathways. Use this interactive map to identify the correct stroke direction for each zone of the face to effectively move toxins toward the lymph nodes and reduce puffiness.
Select a facial zone below to see the expert recommended massage direction.
Start at the center of the forehead and sweep outward toward the temples. Use horizontal strokes to iron out tension lines and encourage fluid to move toward the hairline lymph nodes.
.png)
4 Facial Massage Mistakes to Avoid
Even a quick routine can be off, here’s how to keep it safe:
FAQ: Your Facial Massage Questions Answered
How often should I do a facial massage?
Daily for 5 minutes, or 3-5 times a week to start.
What oil is best for facial massage?
Lightweight ones like jojoba or argan.
Where can I find massage products affordably UK?
Use my beauty product vouchers.

Relax and Glow with Every Massage!
A quick facial massage at home is your secret to de puffed, radiant skin in 5 minutes. With these steps, prep, drain, lift, smooth, and finish, you’ll feel refreshed and look luminous.
Looking for another beauty guide? try How To Care For Dry Skin At Home
Common Questions
Do I need to cleanse in the morning?
Yes. Your skin produces oil and sheds dead cells overnight. Cleansing removes this buildup so serums absorb properly.
Can I skip moisturiser if I have oily skin?
No. Oily skin still needs hydration. Use a lightweight gel moisturiser instead.
How long should I wait between steps?
30-60 seconds is enough for each layer to absorb.
Can I use the same routine every day?
Yes, but adjust based on your skin. If it feels irritated, simplify. If it feels great, keep going.
The Bottom Line
A good morning routine does not need to be complicated or expensive. These seven steps protect your skin, keep it hydrated, and prep it for the day ahead.
Consistency beats complexity every time.
Kisses Nicola xxx
By

If you have found yourself peeking at my page, then like me, you must love all things beauty right? Some people like cars, shoes or diamonds, well me, I love beauty products of every kind! Here I shall share it all with you beauts!